Description
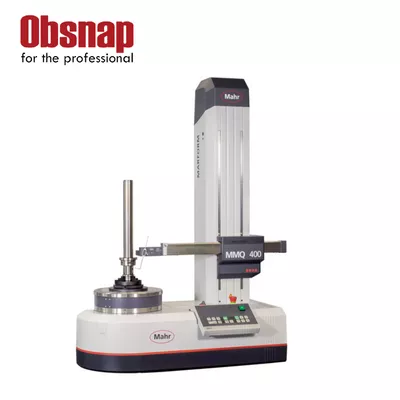
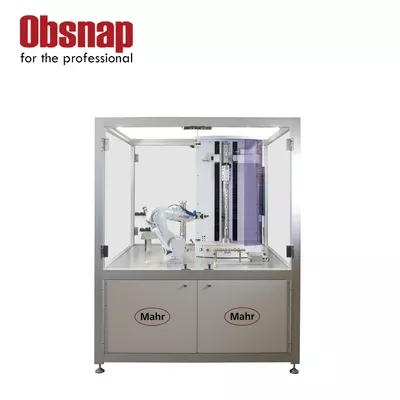
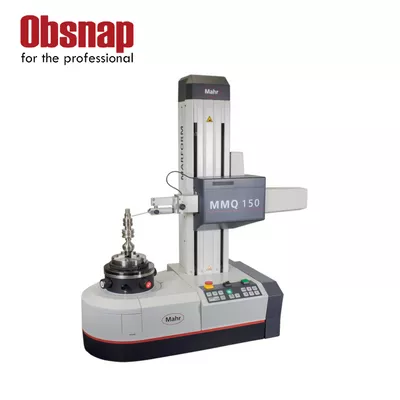
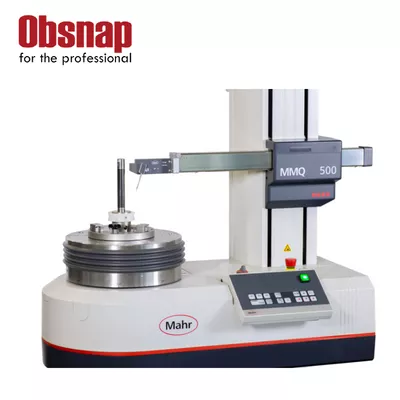
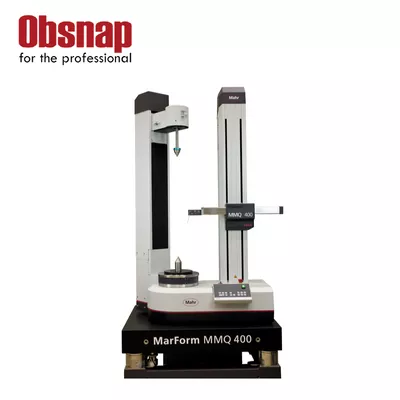
The MarForm MMQ 400 range offers a flexible and fully automated solution for form, position, and surface measurements. Its high-precision Z and X axes, combined with the MarWin platform software, ensure that roughness, waviness, and contour measurements can be performed with maximum efficiency. The system is highly versatile, providing cost-effective measurements that pay for themselves quickly.
This measuring system is universally applicable, suitable for high-precision, unusually long, or heavy workpieces, and can be used in production environments or inspection rooms. The T7W measuring probe features a motorized rotational axis, allowing smooth, gradual positioning for inner, outer, top, or bottom end face measurements. Fully automated sequences on complex workpieces can run without operator intervention, and interchangeable probe arms allow multi-point measurements with different stylus ball geometries.
The MMQ 400 also enables combined form and roughness measurements. The motorized, program-controlled switching between the form probe and the roughness probe lets users perform both measurements in a single clamping process, saving time and operational costs while maintaining high accuracy and repeatability.

