Phone

+603-5621 5786

Business Hour

08:30 - 17:30

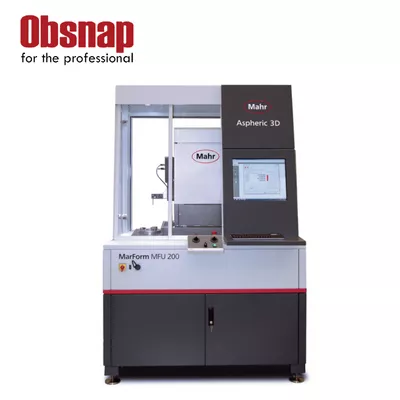
Mahr Metrology MarForm MFU 200 Aspheric 3D

With the MarForm MFU 200 Aspheric 3D , you can inspect optical components quickly and close to production in 2D and 3D. MarForm measuring machines have been known for their accuracy and stability for decades.

With the MarForm MFU 200 Aspheric 3D, you have a high-precision measuring instrument at your disposal that, with its very small measurement uncertainty, is ideally suited to the requirements of your process optimization.
By using the measuring station in a vibration-damped cabin, external interference such as vibrations and dirt are kept away from the measuring objects.

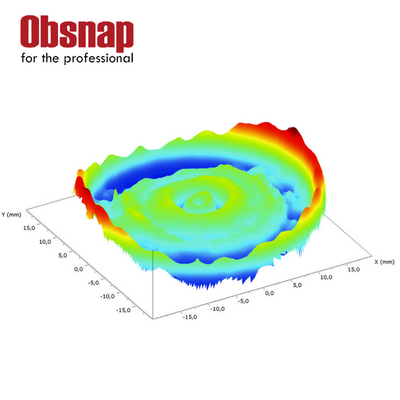
Optical and tactile sensors can be positioned in any angular position (0° to 360°) via a motorized swivel joint and thus offer a high degree of flexibility. The RMS value, PV value and the gradient error are displayed as parameters.
In the software, the individual parameters for the aspheres such as the radius of curvature R0, the conical constant k and the aspheric coefficients Ai can be adjusted to the measurement results when adapting the target asphere to the fit asphere.

Practical applications are the optical measurement of the shape deviation of the optics, the tactile measurement of the circumferential cylinder on optics, the calculation of the axis offset to the zenith of the lens (optical axis mechanical axis offset) and the tactile measurement of the tilting on the underside of the optics. In addition, the high-precision 3D measuring station MarForm MFU 200 Aspheric 3D offers the kinematic possibilities for measuring optical free forms, off-axis aspheres and toroids.

Description

MarForm MFU 200 Aspheric 3D | Item No. 5440560
Roundness deviation (µm+µm/mm measuring height) * 0.01 + 0.0002
Straightness deviation / 100 mm measuring path (µm)**, Z-axis 0.1
Straightness deviation / total measuring range (µm)**, Z-axis 0.3
Parallelism deviation Z / C axis in scanning direction, measuring path (µm) 0.6
Measurement speed (mm/s), Z-axis 0.1 to 50
Positioning speed (mm/s), Z axis 0.1 to 50
Roundness deviation (µm+µm/mm measuring height) ** 0.02 + 0.0004
Straightness deviation / total measuring path (µm)**, X-axis 0.3
Axial run-out (µm+µm/mm measuring radius) * 0.02 + 0.0002
Axial run-out (µm+µm/mm measuring radius) ** 0.04 + 0.0004
Centering and tilting table automatically
Table diameter (mm) 180
Table load capacity, centric (N) 200
Speed ​​(1/min) 50 Hz / 60 Hz 0.1 to 200

Ready to Transform Your Business? Contact Us Today

Categories

Request a Quote or Further Information

Please fill in the request form below and one of our engineers will contact you to discuss your system requirements and if we can help, our typical response time is within 1 – 3 working day.