Description
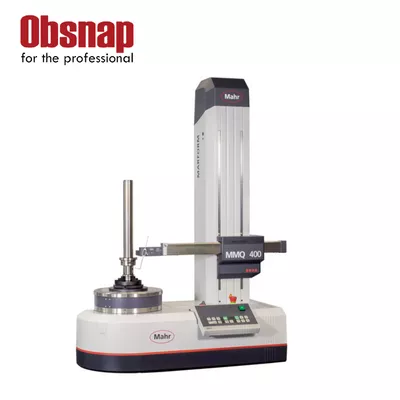
| MarForm MMQ 400 | Art.-Nr. 5440781 | |
|---|---|
| Roundness deviation (µm+µm/mm measuring height) * | 0,01 + 0,00025 |
| Measuring path, motorized Z (mm) | 500 |
| Straightness deviation / 100 mm measuring path (µm)**, Z axis | 0.15 |
| Straightness deviation / total measuring path (µm)**, Z axis | 0.4 |
| Parallelism deviation Z-/C axis in tracing direction, measuring path (µm) | 0.8 |
| Measuring speed (mm/s), Z axis | 0,1-30 |
| Positioning speed (mm/s), Z axis | 0,5 -100 |
| Measuring path, motorized X (mm) | 280 |
| Roundness deviation (µm+µm/mm measuring height) ** | 0,02 + 0,0005 |
| Straightness deviation /av. 100 mm measuring path (µm)**, X axis | 0.5 |
| Straightness deviation / total measuring path (µm)**, X axis | 1.5 |
| Axial runout deviation (µm+µm/mm measuring radius) * | 0,02 + 0,0001 |
| Axial runout deviation (µm+µm/mm measuring radius) ** | 0,04 + 0,0002 |
| Centering and tilting table | automatic |
| Table diameter (mm) | 285 |
| Table load capacity, centered (N) | 600 |
| Speed (rpm) 50 Hz / 60 Hz | 0.2-15 |
| Footer text | * Values as maximum deviation from LSC reference circle, filter 15 undulations/revolution. ** All values in accordance with DIN ISO 1101 at 20°C ±1°C in a vibration-neutral environment, filter 15 undulations/revolution LSC or 2.5 mm LSS, 5 rpm or 5 mm/s and standard probe arm with ball diameter 3 mm. Proof at the standard using error separation techniques. Given the number of different options available, only a few machines are described here by way of example. Technical data for “your” MMQ is available from Mahr on request. |


